Start Token ID at 1 instead of 0
thirdweb prebuilt NFT contracts follow the standard convention with NFT token ID beginning at 0. If you are using any thirdweb contract (NFT Drop, Edition Drop, NFT Collection, Signature Drop, etc) all of these contracts begin with token ID at 0 and increase sequentially.
If you want your NFT contract token ID to start at 1 instead of 0, there are several approaches you can consider:
- Mint and burn token ID 0 yourself (recommended)
- Use ContractKit to customize the Solidity of a base contract (requires advanced coding)
Starting NFT token ID at 1 Option 1 → Mint and burn token ID 0
- Head to your deployed contract on the dashboard. If you do not already have a contract, select one from the Explore page and deploy it to your network of choice.
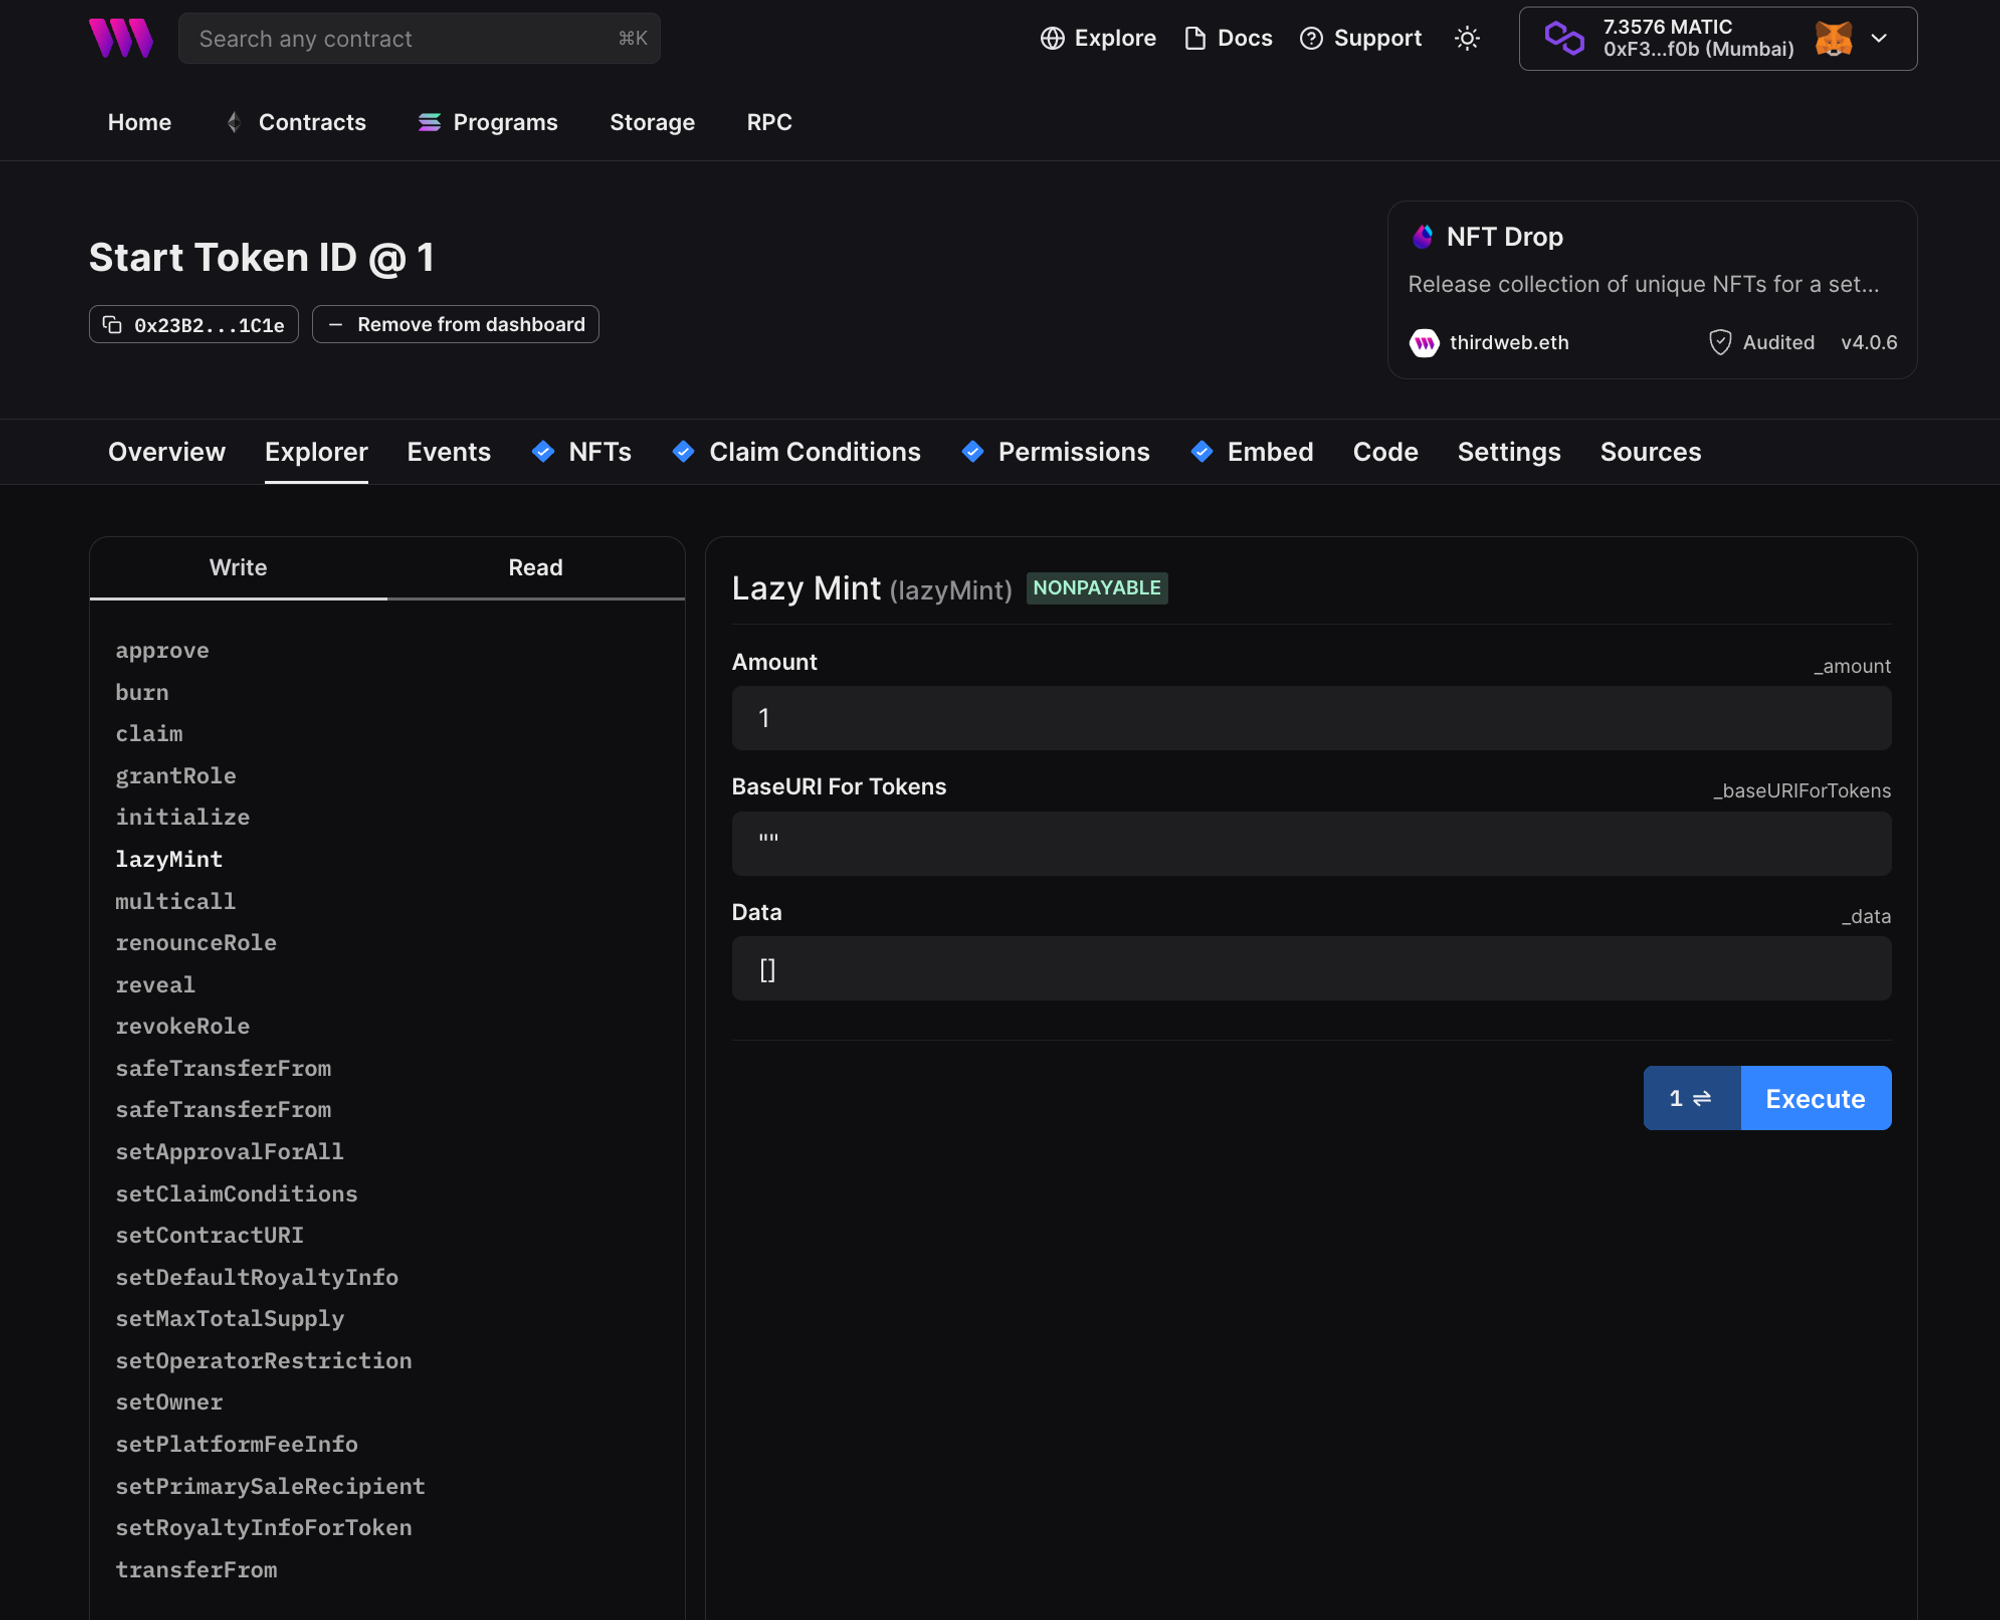
- After deploying the NFT Drop contract, head to the Explorer tab. This explorer quickly allows you to interact will all the functions in your contract.
- Under the “Write” section, select
lazyMint. Here we lazy mint an empty token ID 0 for us to claim and burn. To begin, enter the following parameters into yourlazyMintexplore function then execute: - Amount:
1 - BaseURI For Tokens:
"" - Data:
[]

lazyMint an empty token ID 0- Now that you have token ID 0 lazy minted, set your Claim Conditions and claim one NFT using the
Claimbutton on the NFTs tab.
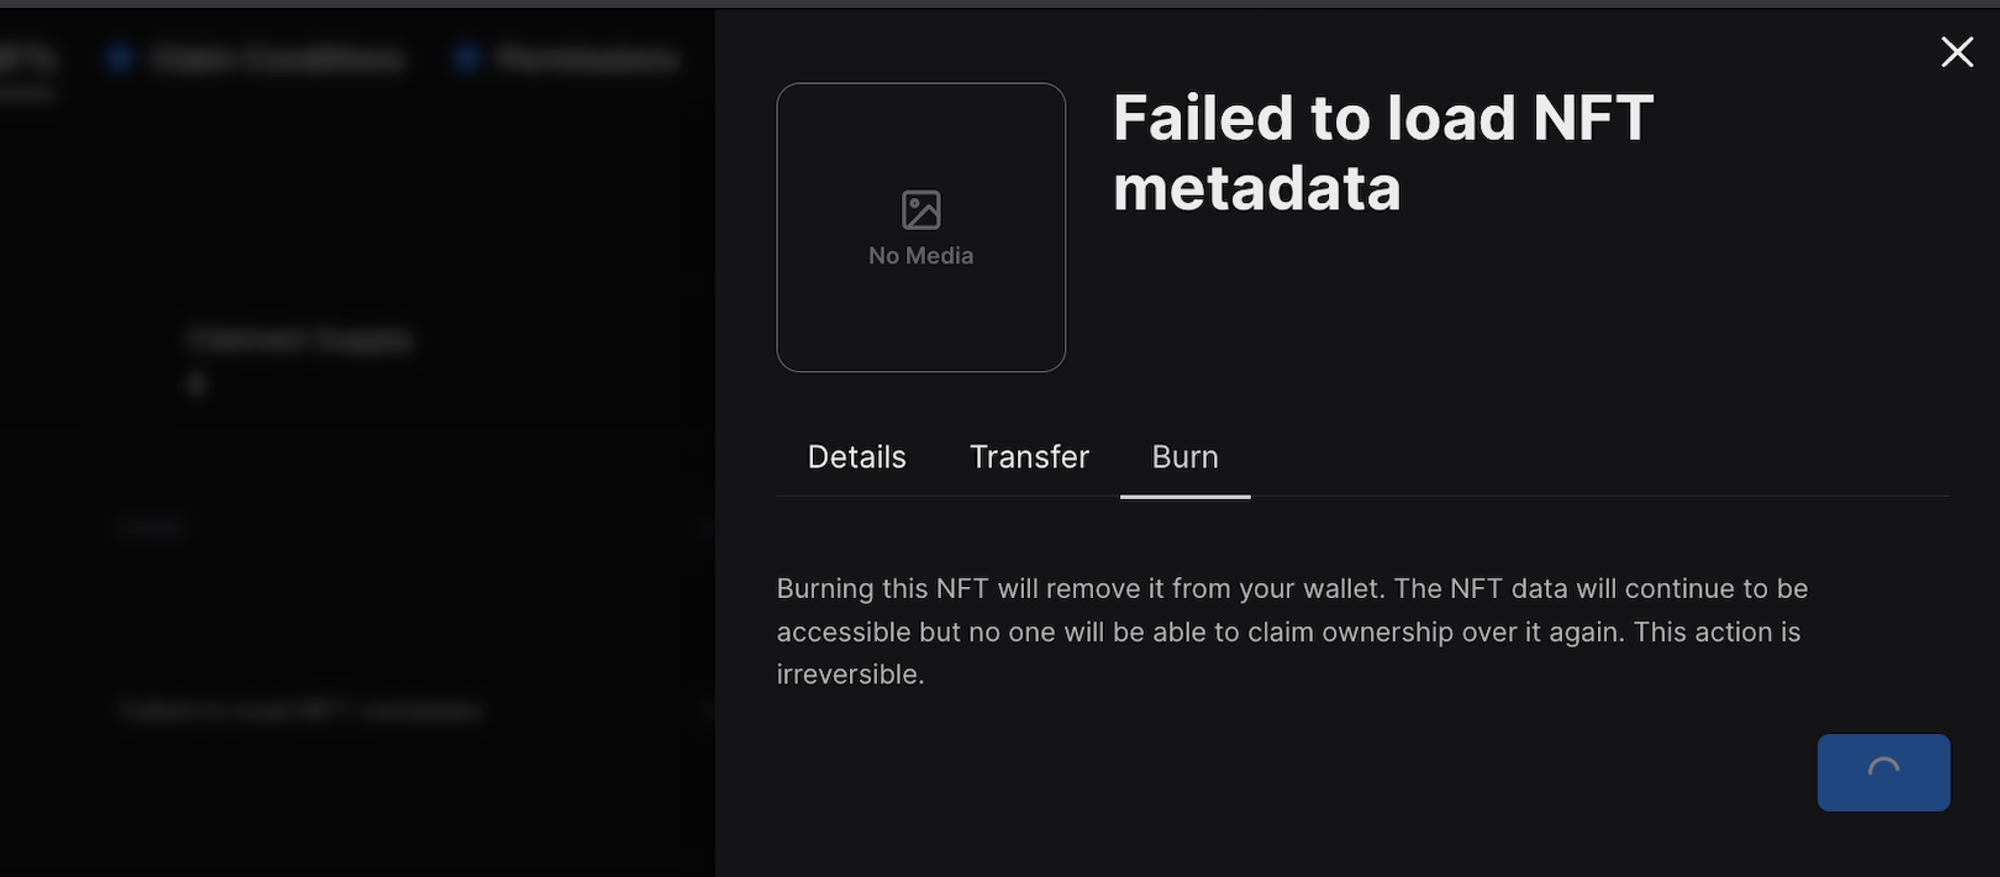
- After claiming token ID 0, select NFT token ID 0 on the dashboard and select
Burnon the right-hand side. Execute this function.

- Now that you have minted and burned token ID 0, you can batch upload your remaining NFTs, and the first “real” NFT will begin at token ID
1! 🎉
Starting NFT token ID at 1 Option 2 → Using ContractKit
It is also possible to start your token ID at 1 by using ContractKit. Here you can import the necessary ERC721 (or ERC1155) base contract and override functions in the contract so the first token ID starts with 1 instead of 0.
To get started using ContractKit, simply run npx thirdweb create --contract to start building on one of our base contracts from your CLI.
Can’t get this working? If you’ve followed the above and still have issues, contact our support team for help.